vSphere "Home" Notes
Russell Bateman
late January 2013
last update:
| |
vSphere "Home" Notes
Russell Bateman |
These are notes on my vSphere use at home, on my virtualized server. I'm running vSphere in Windows 7 on a Sun VirtualBox running on my Lucid desktop.
Tools to manage ESX at 192.168.0.28.
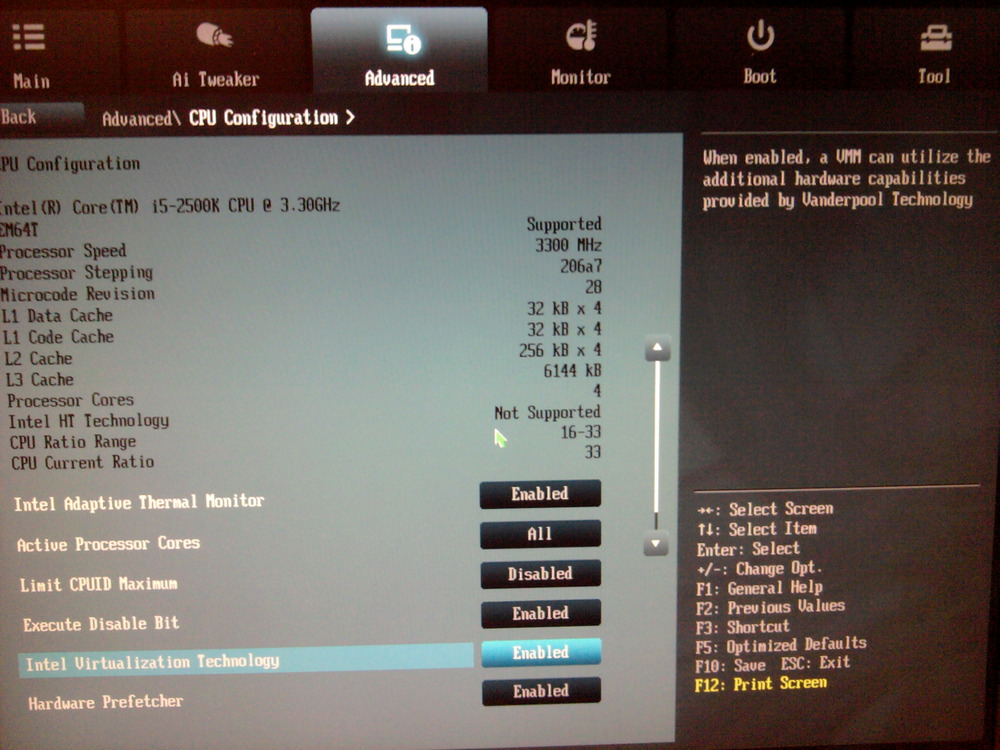
* Enable virtualization:
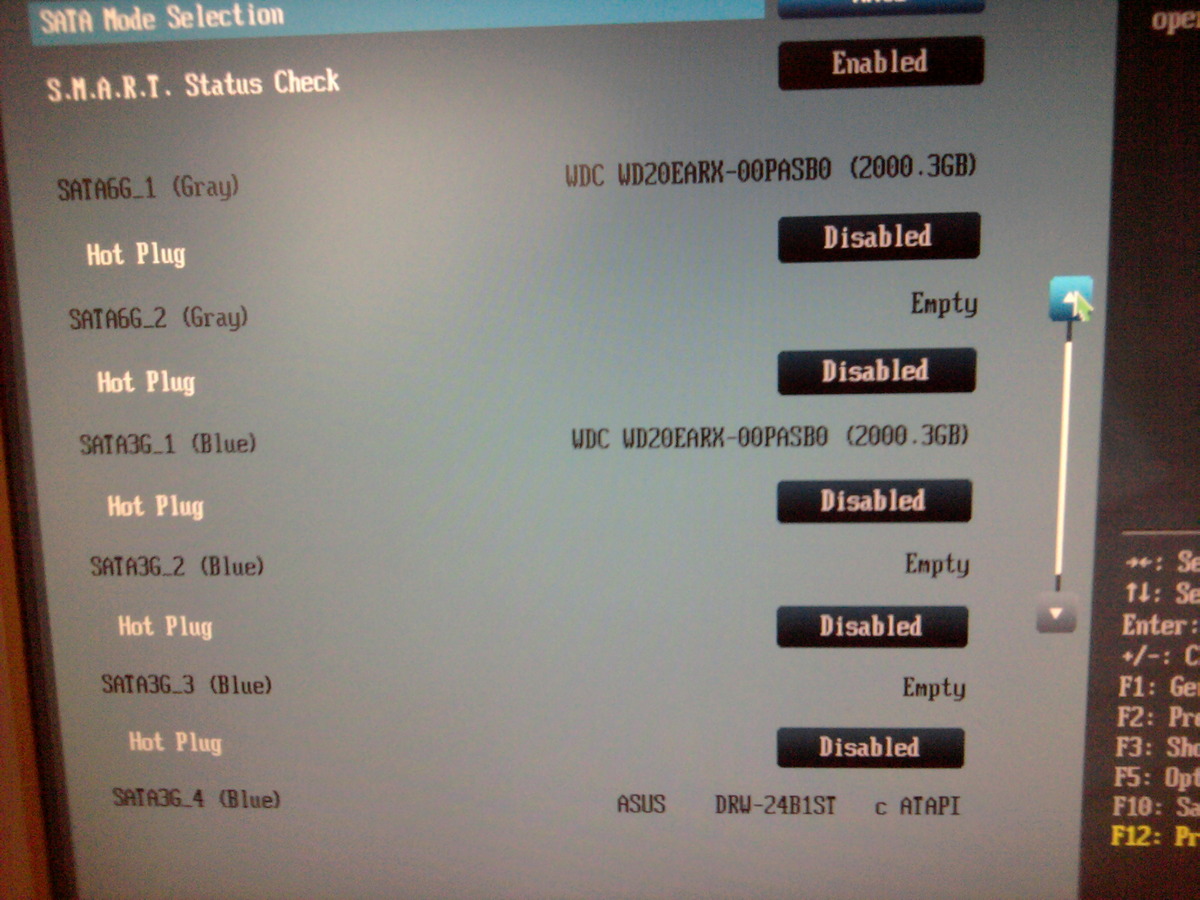
More on the ESX datastore problem: it only retained my first disk after installation.
It's been curious why with two disks recognized by the BIOS, vSphere sees only one (see me installing the first VM below). I did the following in an attempt to diagnose:
Here I'm presented with a screen similar to what I had
originally.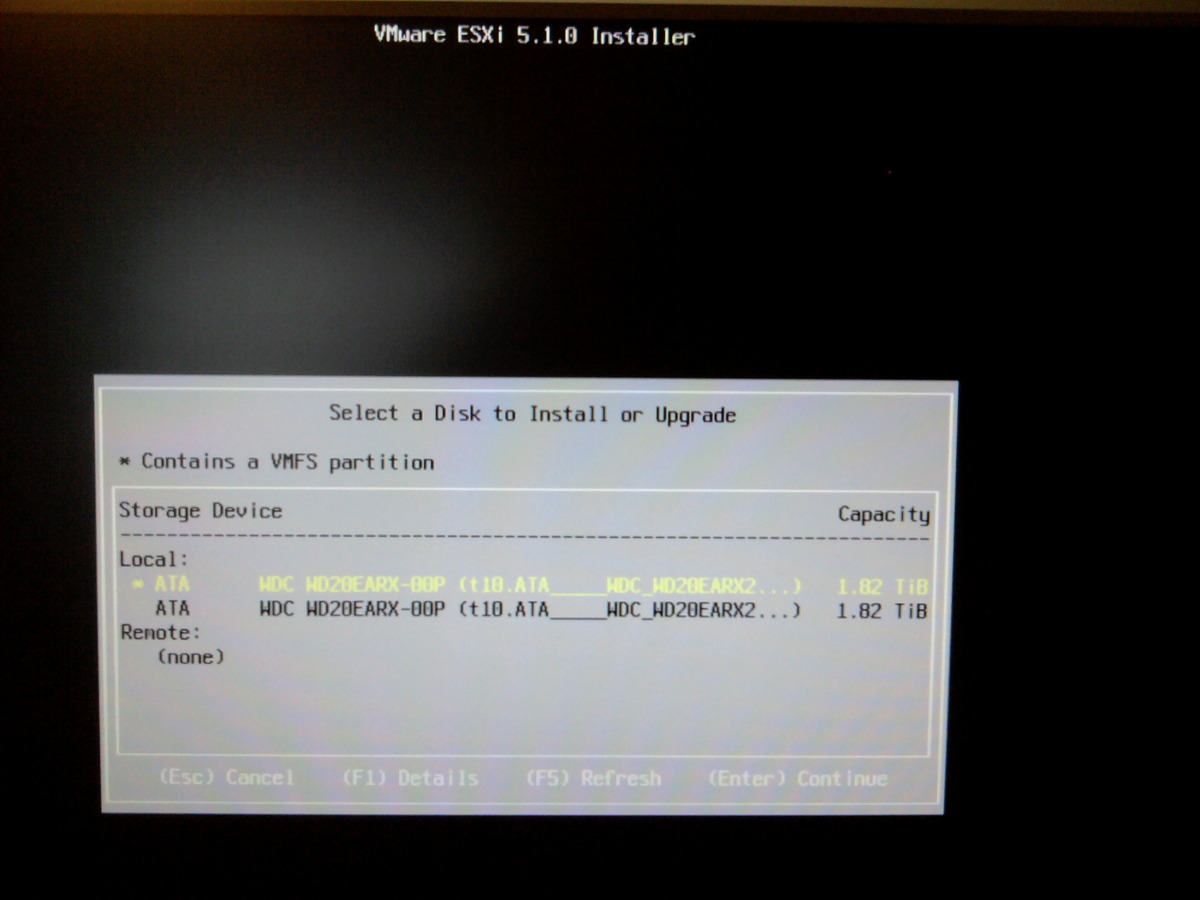
|
I'm resolved to choose the second disk this time, which doesn't
already have ESXi on it, for this second installation.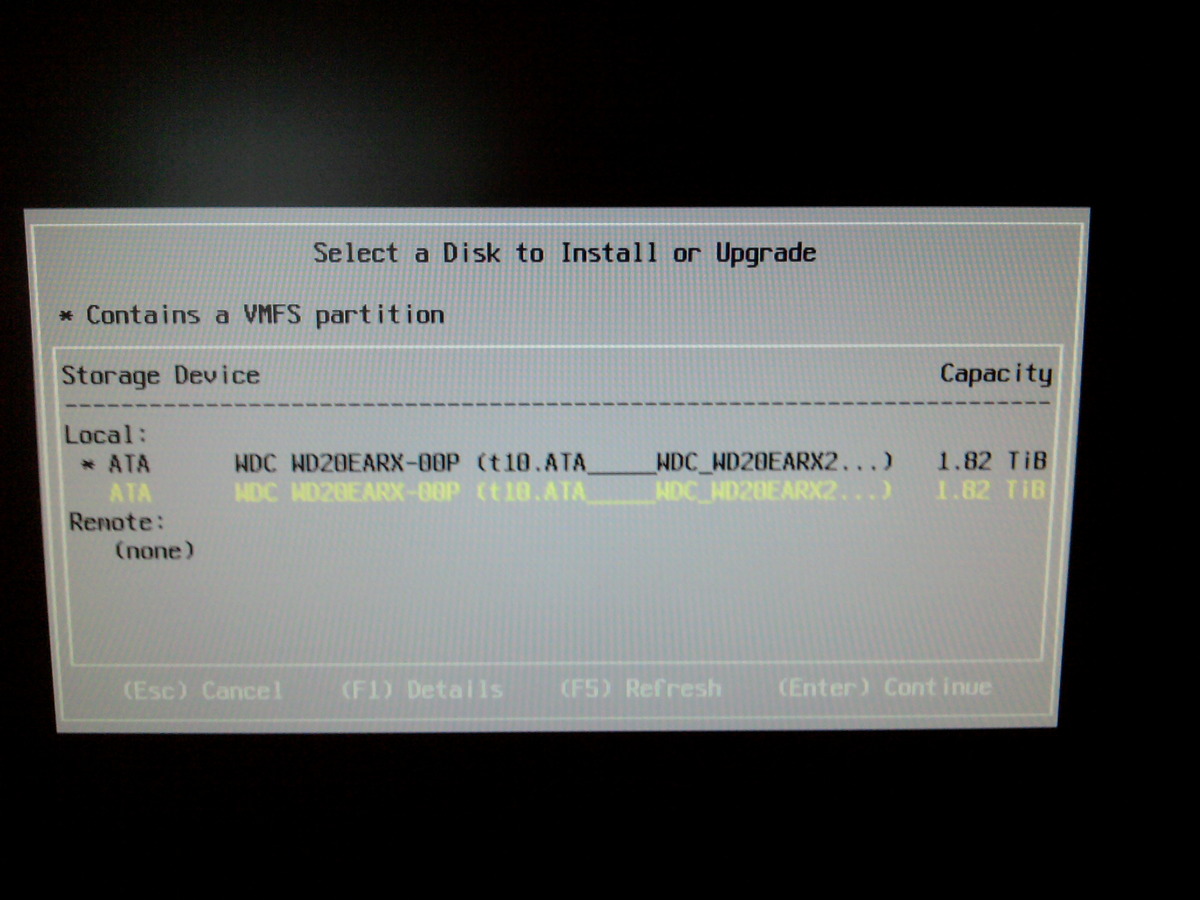
|
The details of the second disk installation if I proceed.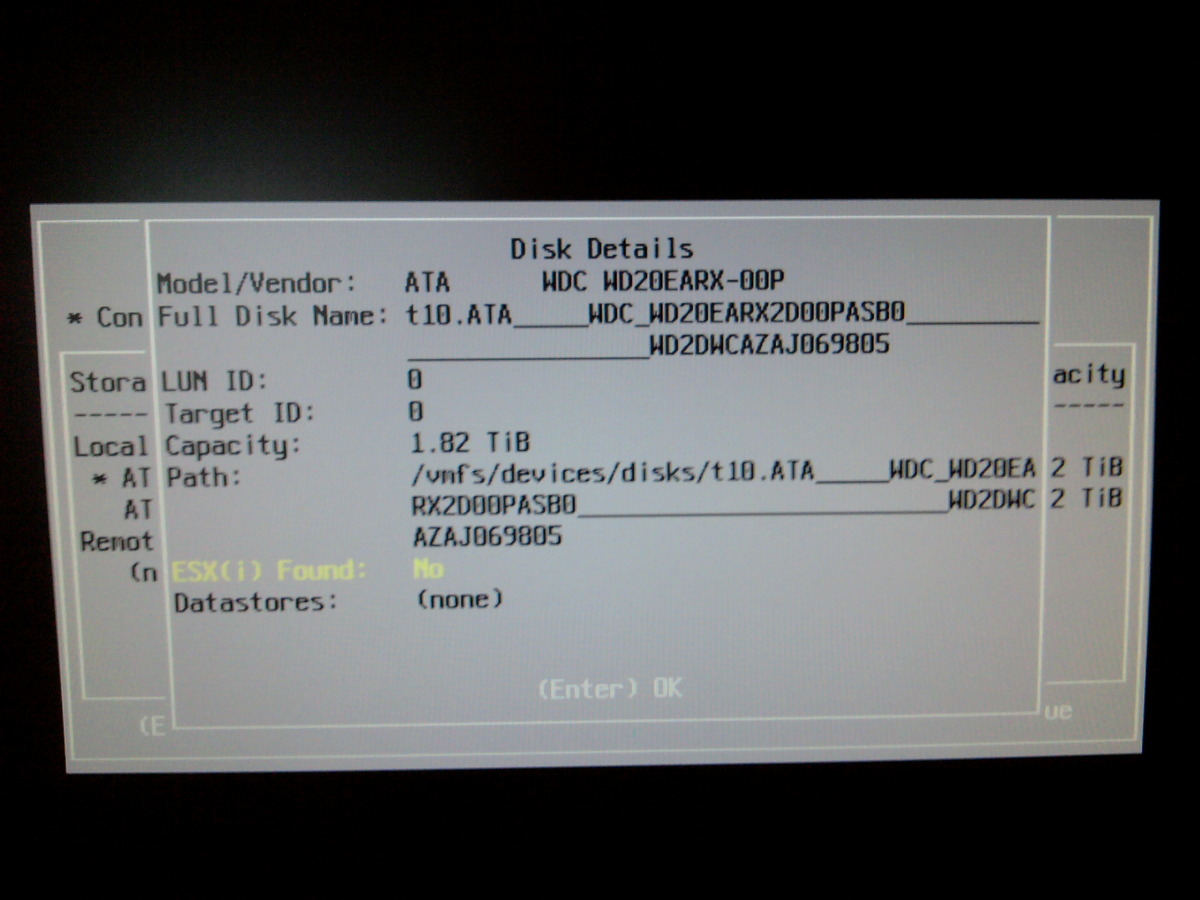
|
Confirm I'll proceed to instal ESXi on the second disk.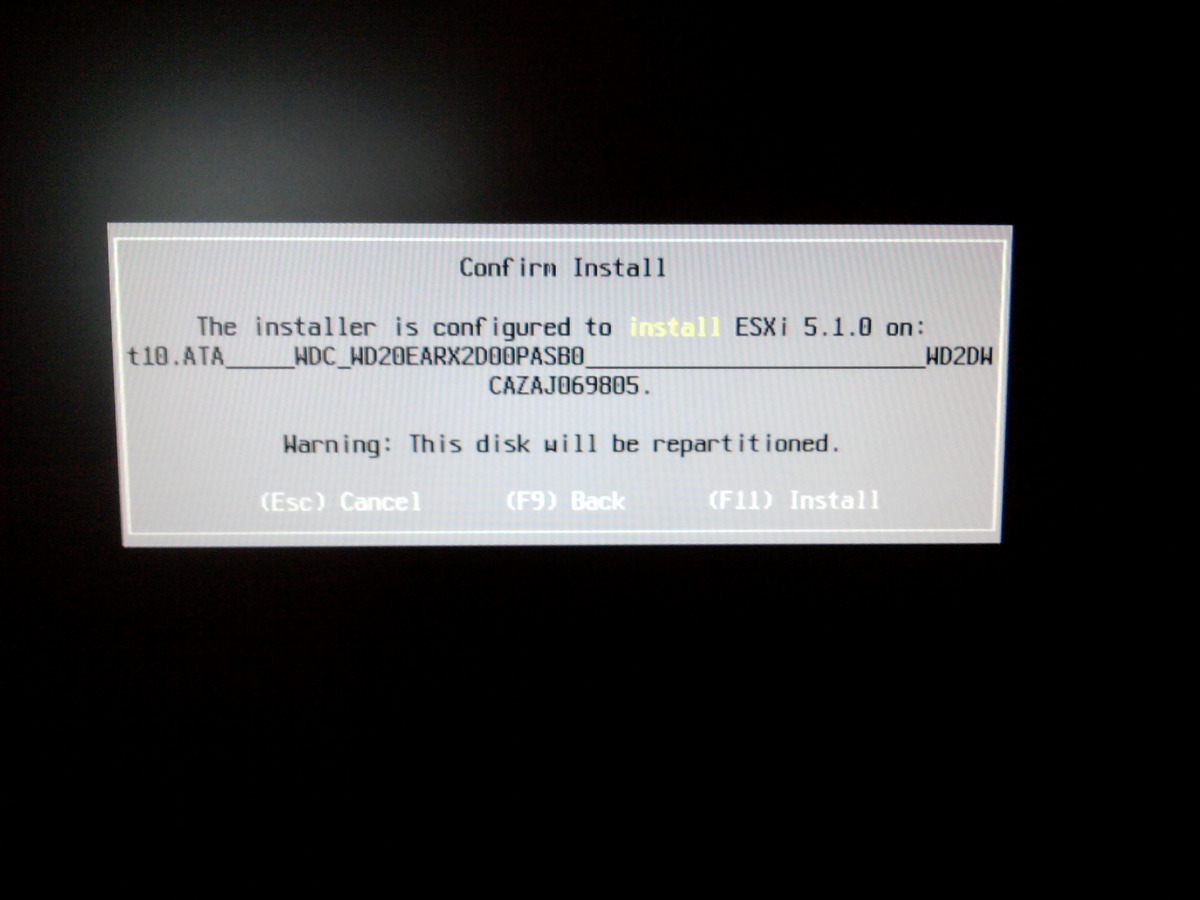
|
|
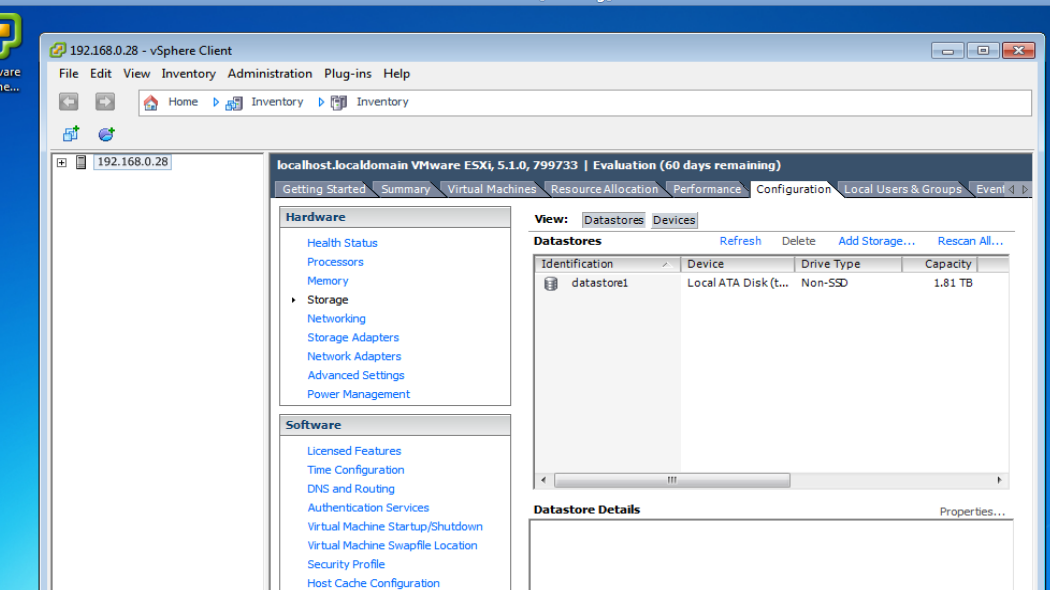
The original datastore (1) is still there and, as I've created a VM on it, is slightly smaller than the second, new one (1.76Tb vs. 1.81Tb). 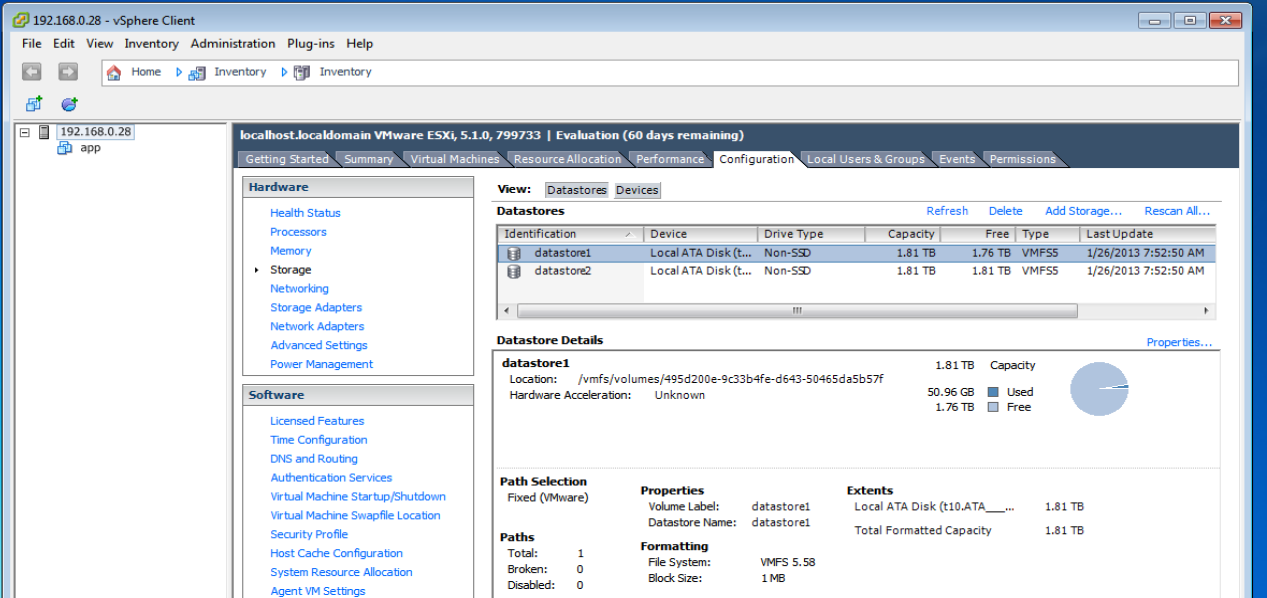
|
The second, new datastore (2) is nearly empty.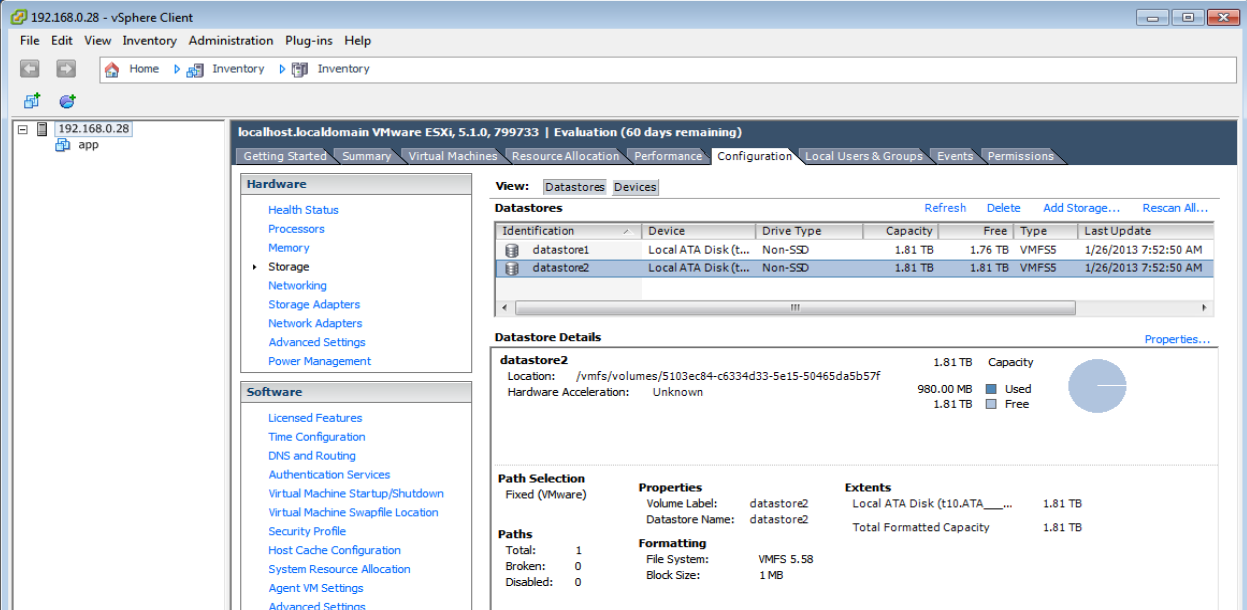
|
|
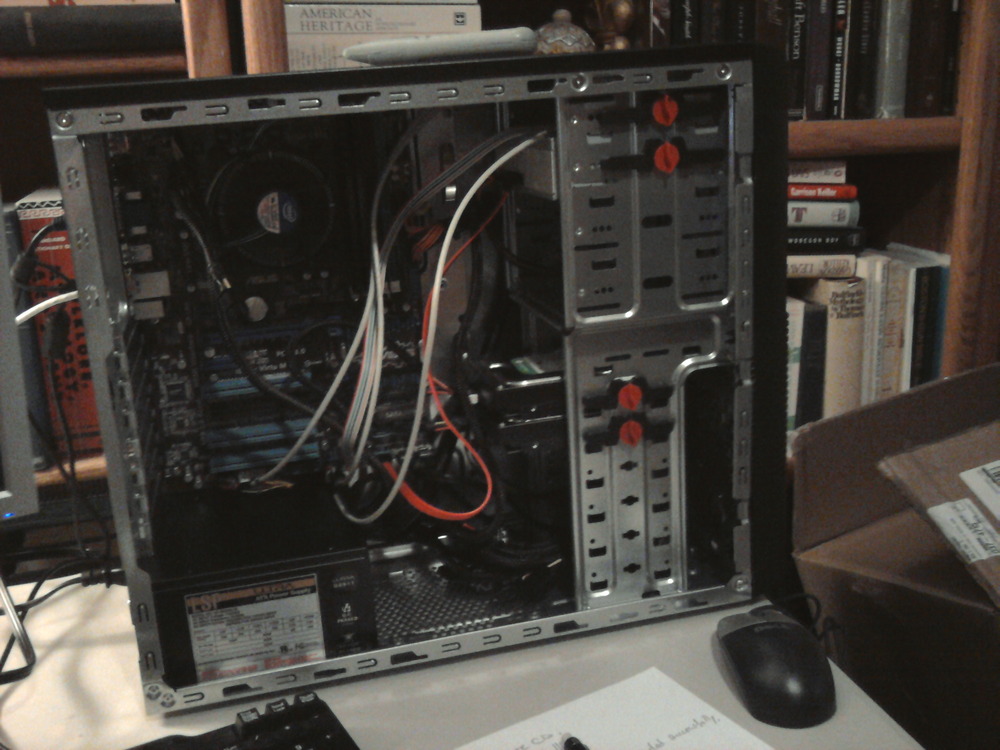
Here's my new server; I haven't cleaned up inside the case with wire-ties or installed
the additional muffin fans I plan. However, it appears to run as cool as it is quiet.
It's an Intel i5-2500K (3.3GHz) with 16Gb of memory, 2 × 2Tb of disk.
|
Finding how to enable virtualization in the BIOS was like looking for the proverbial
needle in a haystack. I missed it the first time I looked and the ESXi installation
let me know positively that I had. |
|
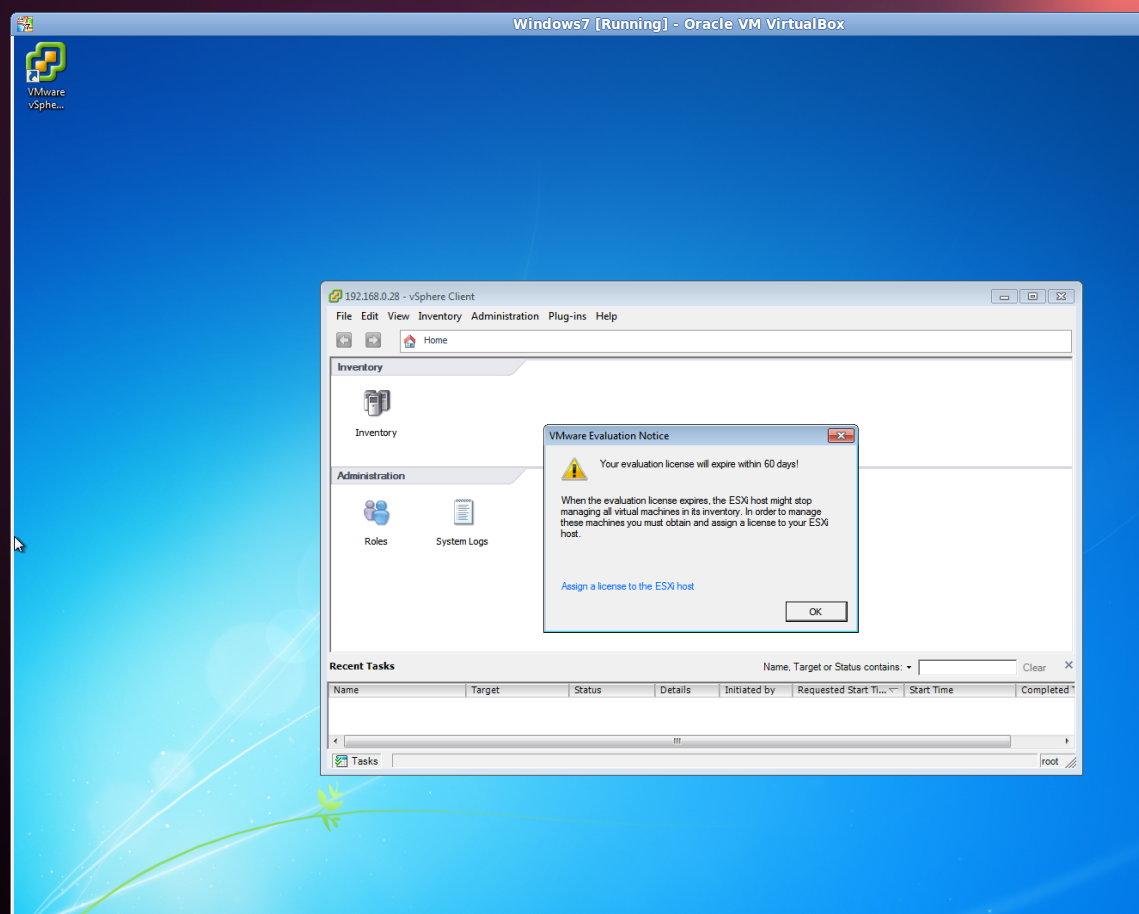
I log into vSphere for the first time. I got the address of the server hardware
from ESXi after it came up. What could be simpler? |
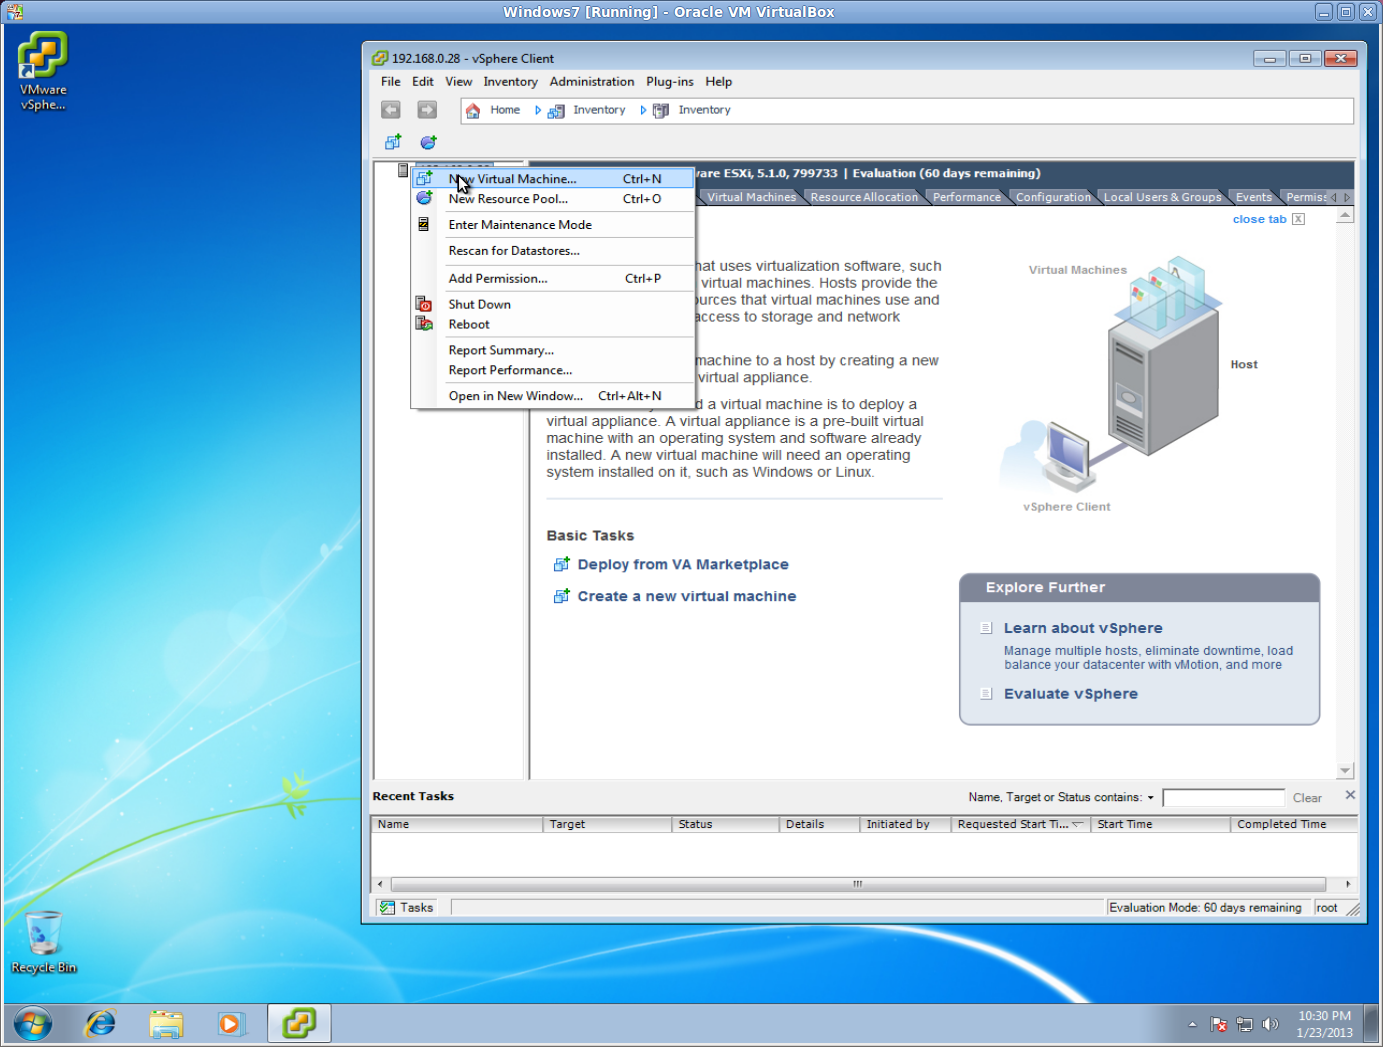
Looks like I'm ready to begin... |
|
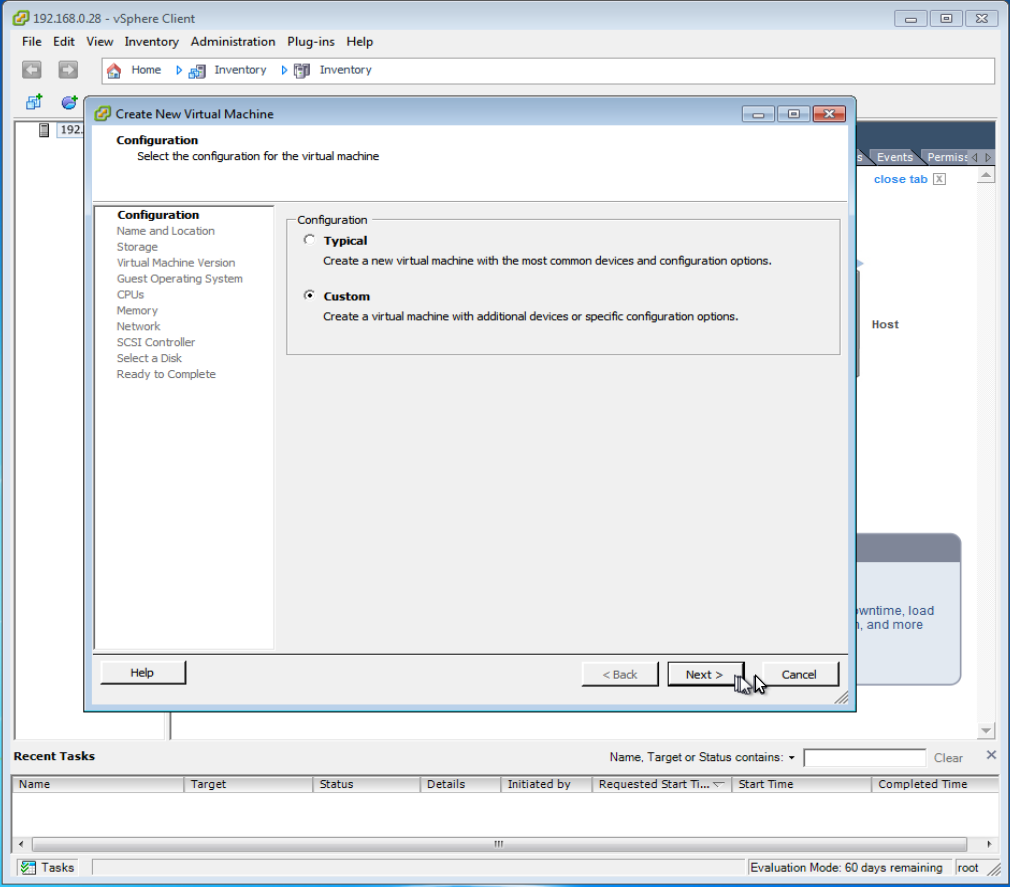
Right-click the server and choose New Virtual Machine... |
We're creating a custom configuration... |
|
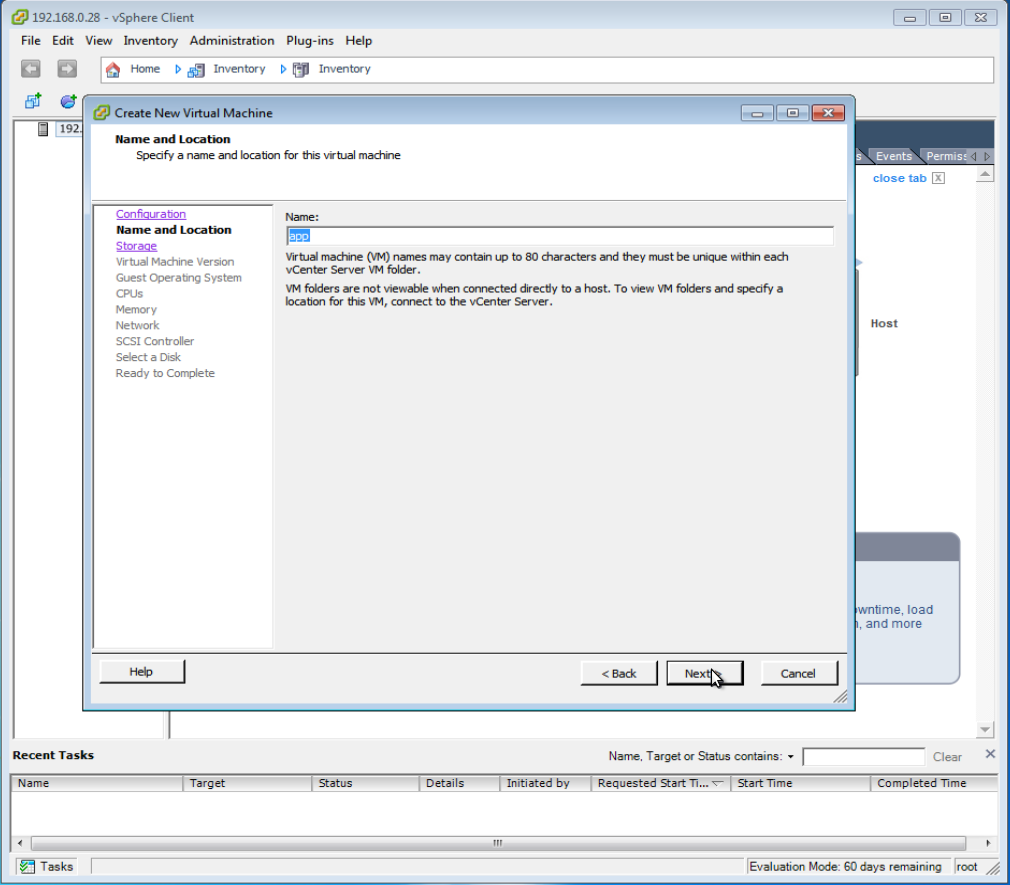
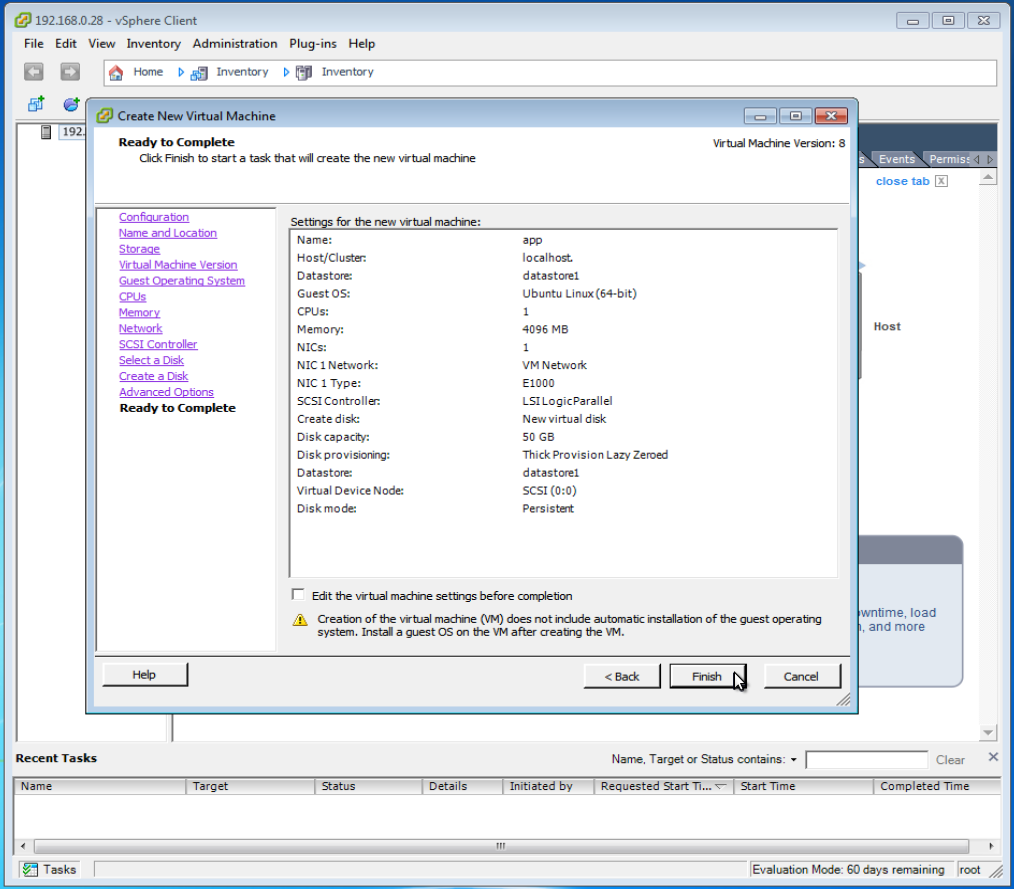
Name the new virtual machine, app; we're going to set it up
completely including Tomcat and the Chef client, then turn it into
a template from which we'll generate our actual, working VMs. |
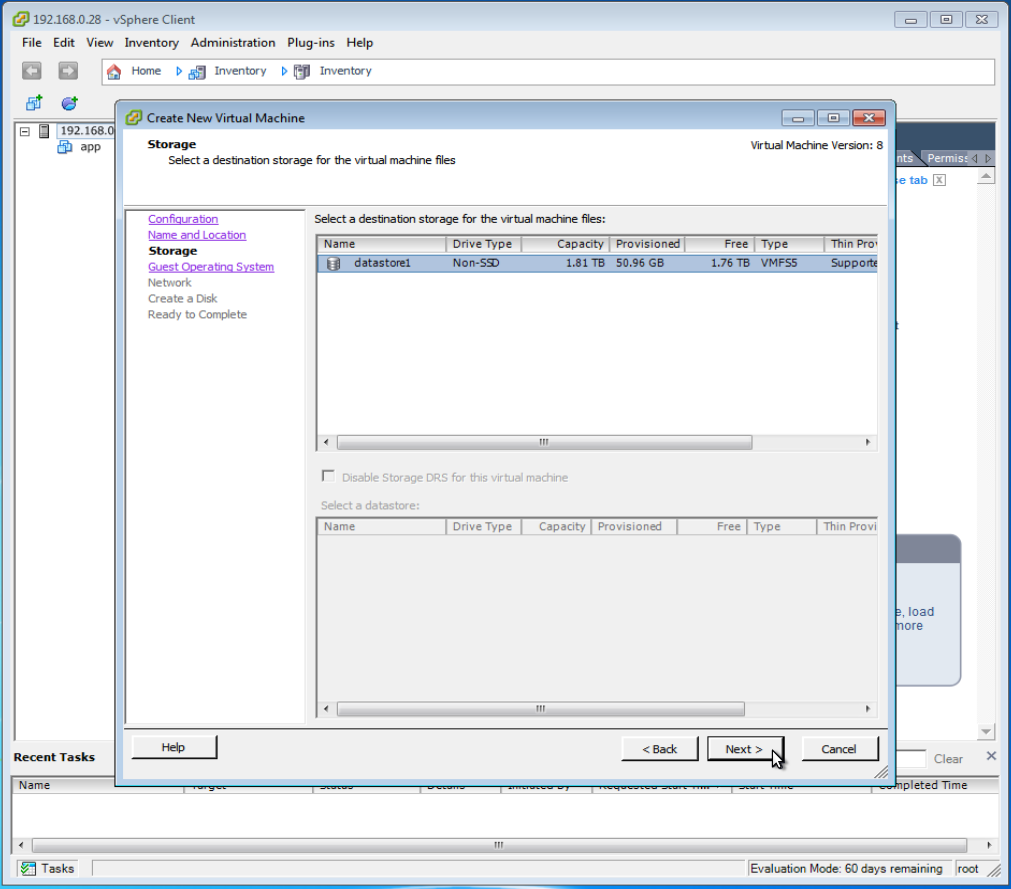
We just have one disk: everything's going to go here. We were supposed
to have two, see image at end. |
|
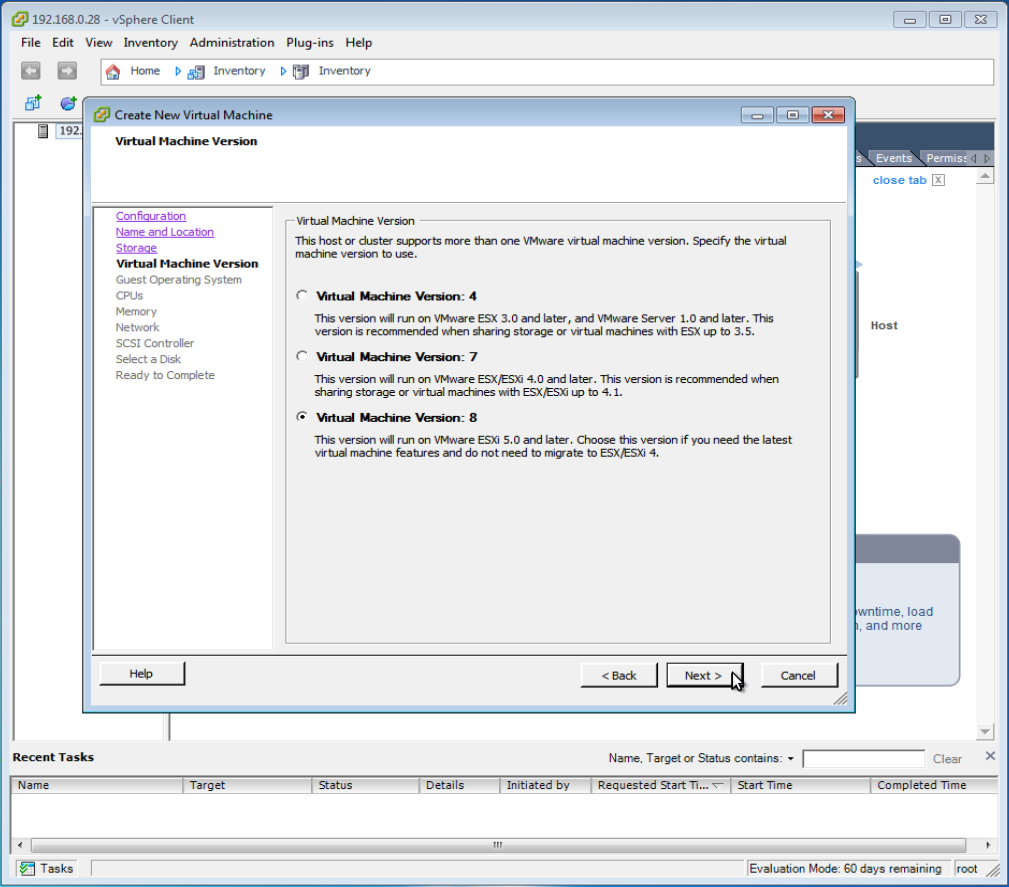
We're using ESXi 5.1 in fact... |
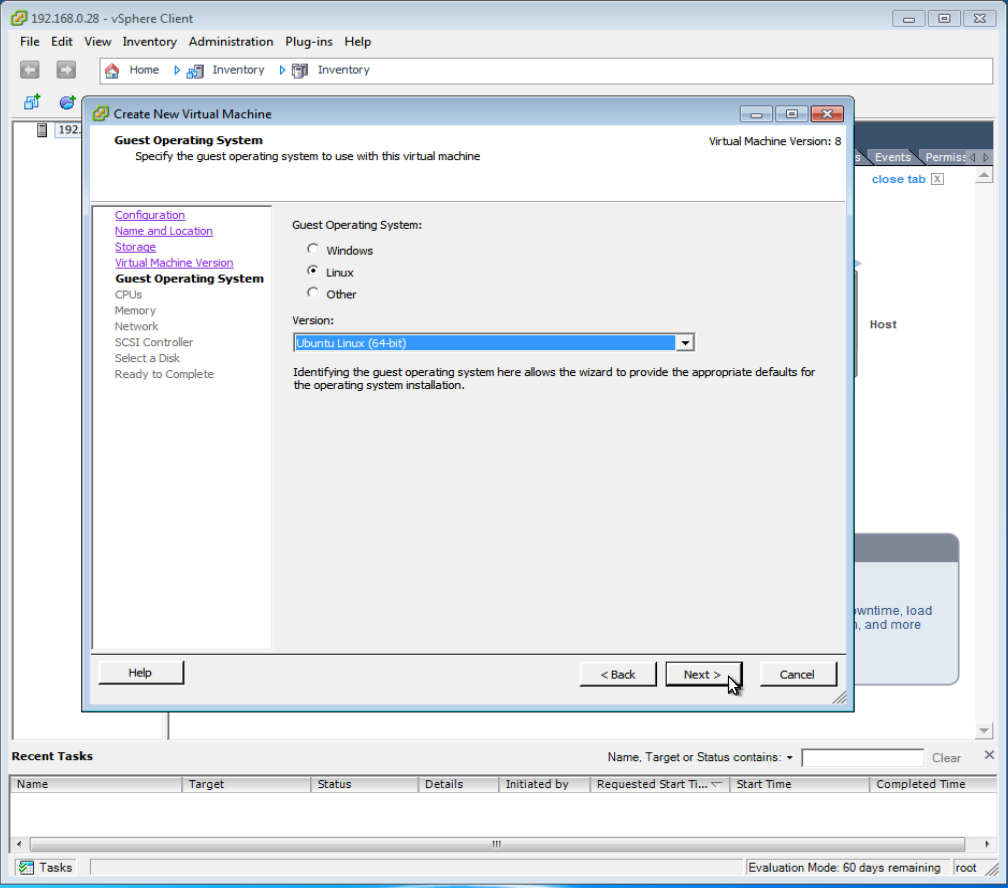
We'll use Ubuntu Precise Pangolin (12.04 LTS) 64-bit server... |
|
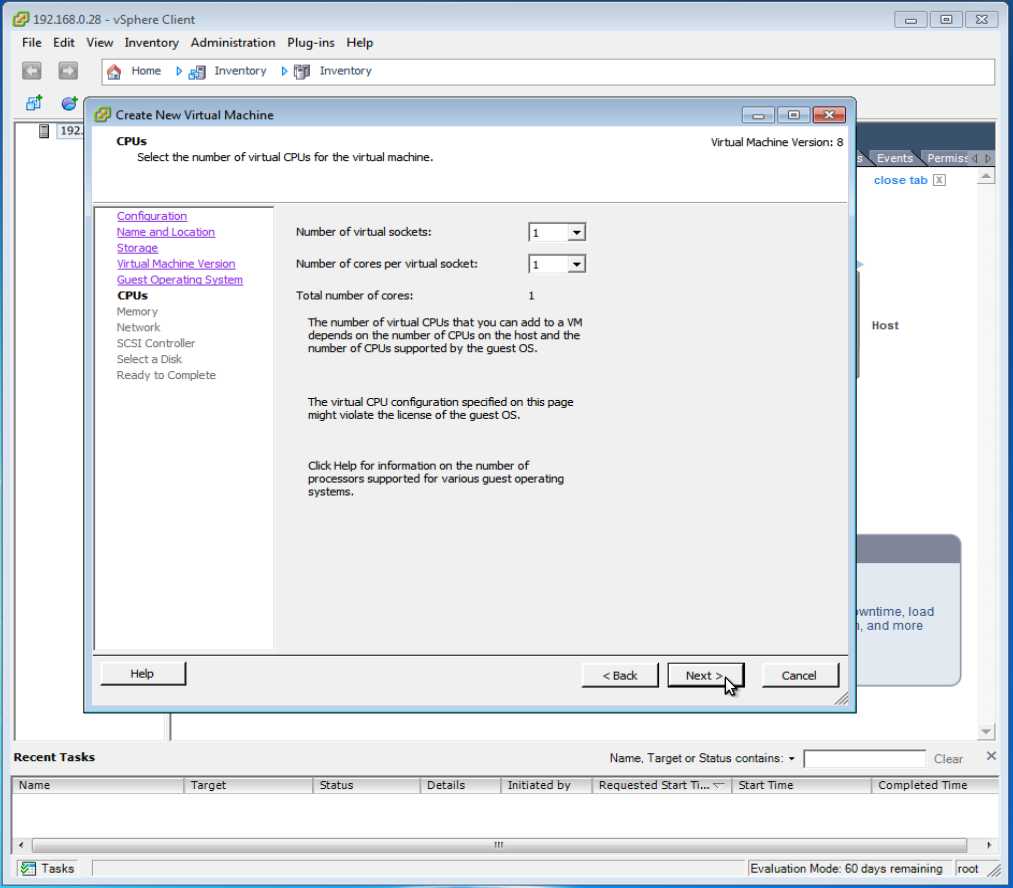
Uh, wasn't sure about this in terms of adding cores: would Tomcat make
use of additional cores? How would this affect other VMs we run? |
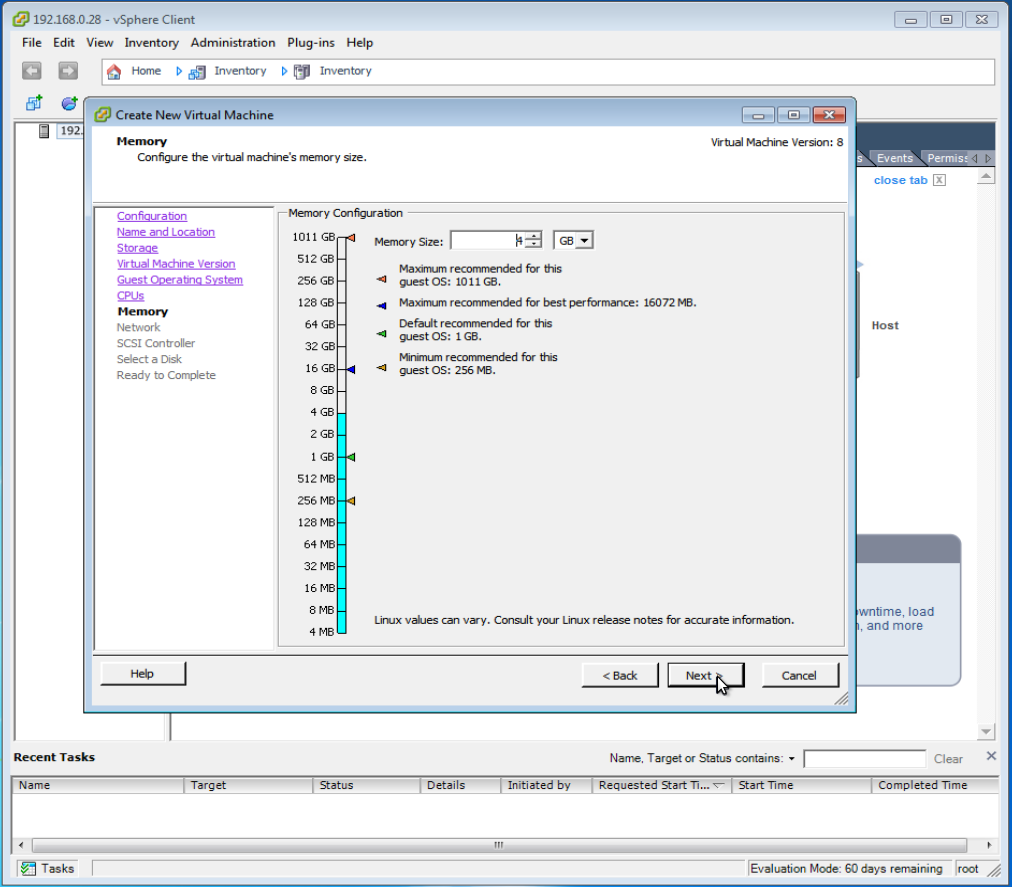
We're allocating 4Gb of memory to each application server... |
|
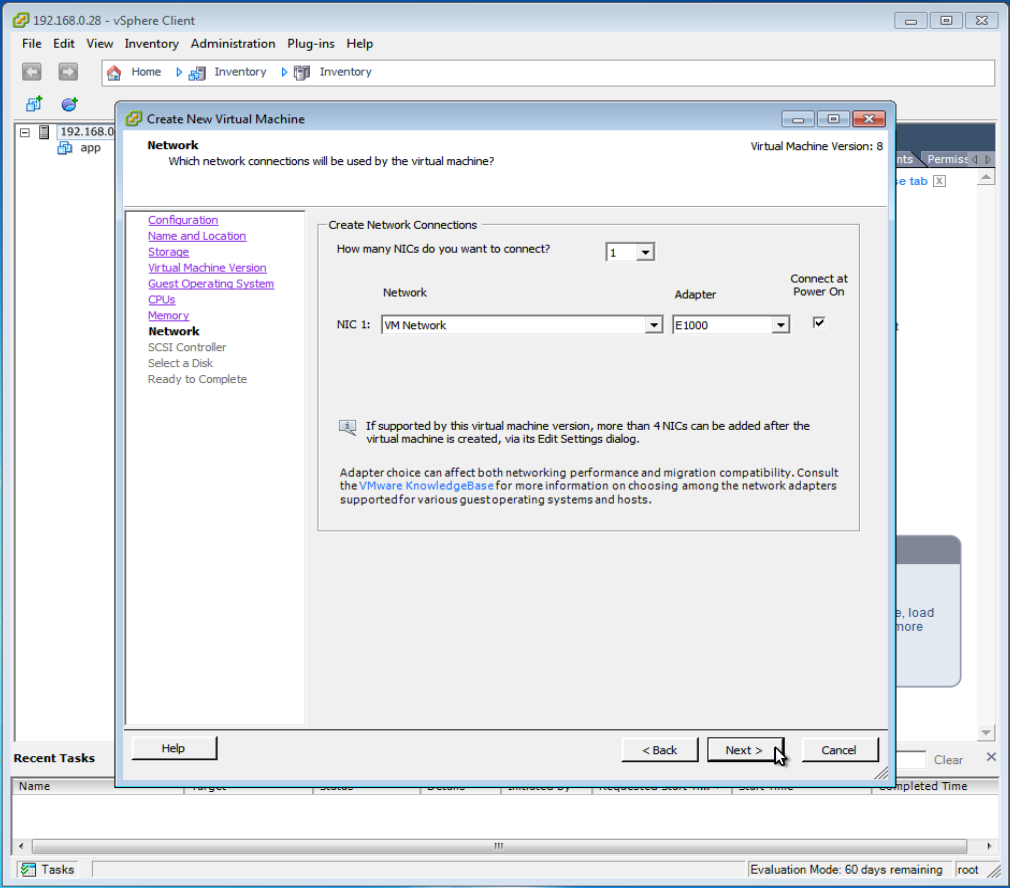
Just the one NIC... |
And we don't change anything here... |
|
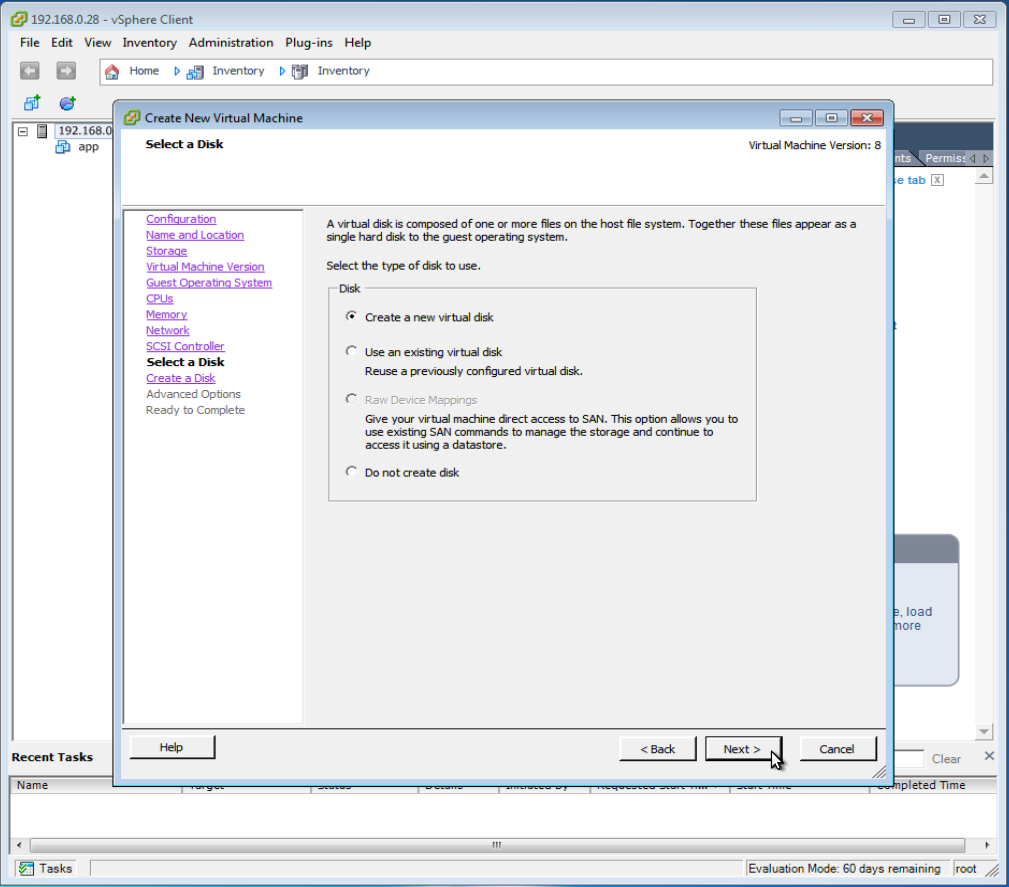
We'll create a new virtual disk, I think. I'm not sure here, so we'll see
what happens when we turn this into a template later. |
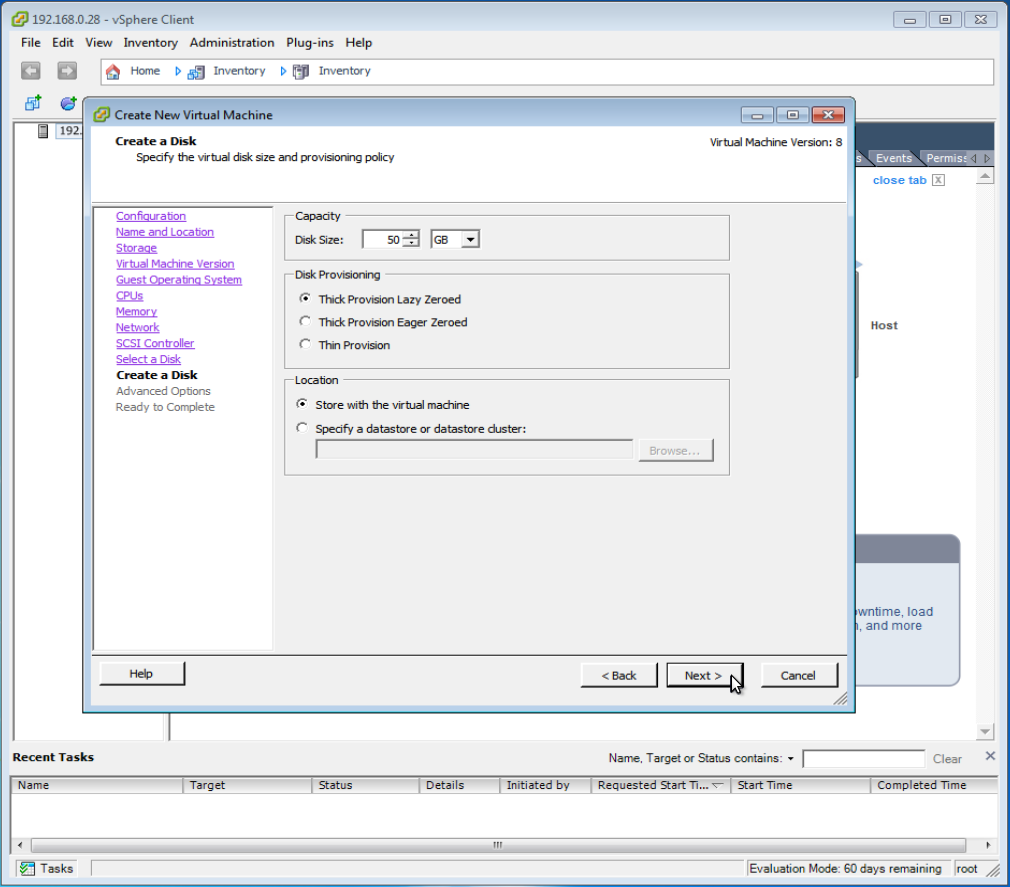
More than enough, perhaps, but we've decided to allocate 50Gb to each
application node... |
|
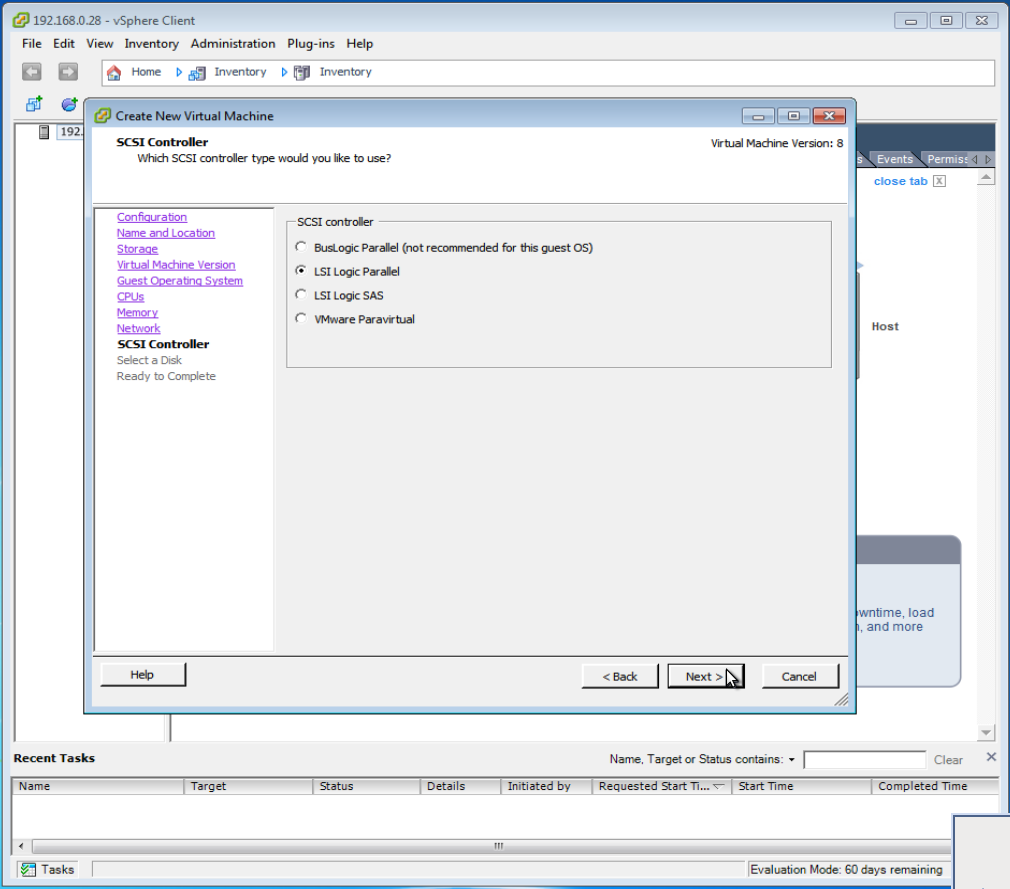
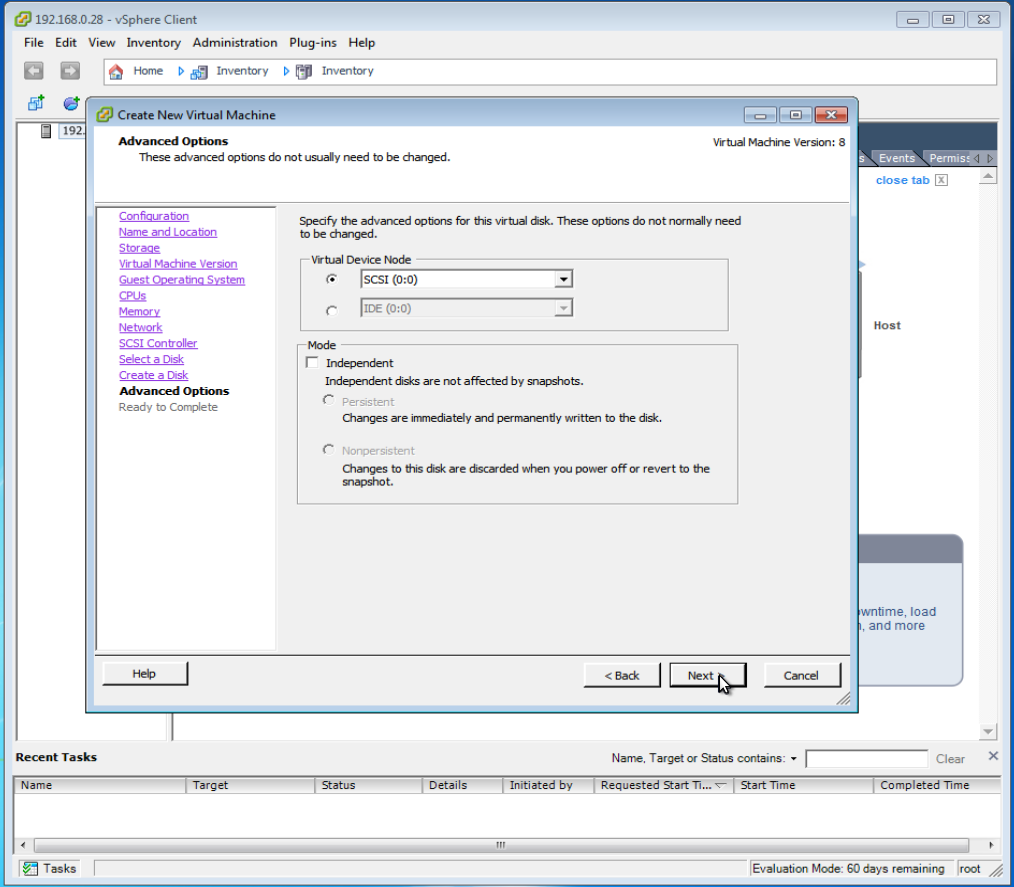
As the man says, don't change anything here... |
Here we are at the summary. Note that this isn't a real VM yet because we
have to install Ubuntu Precise and out base software. Just click Finish
|
|
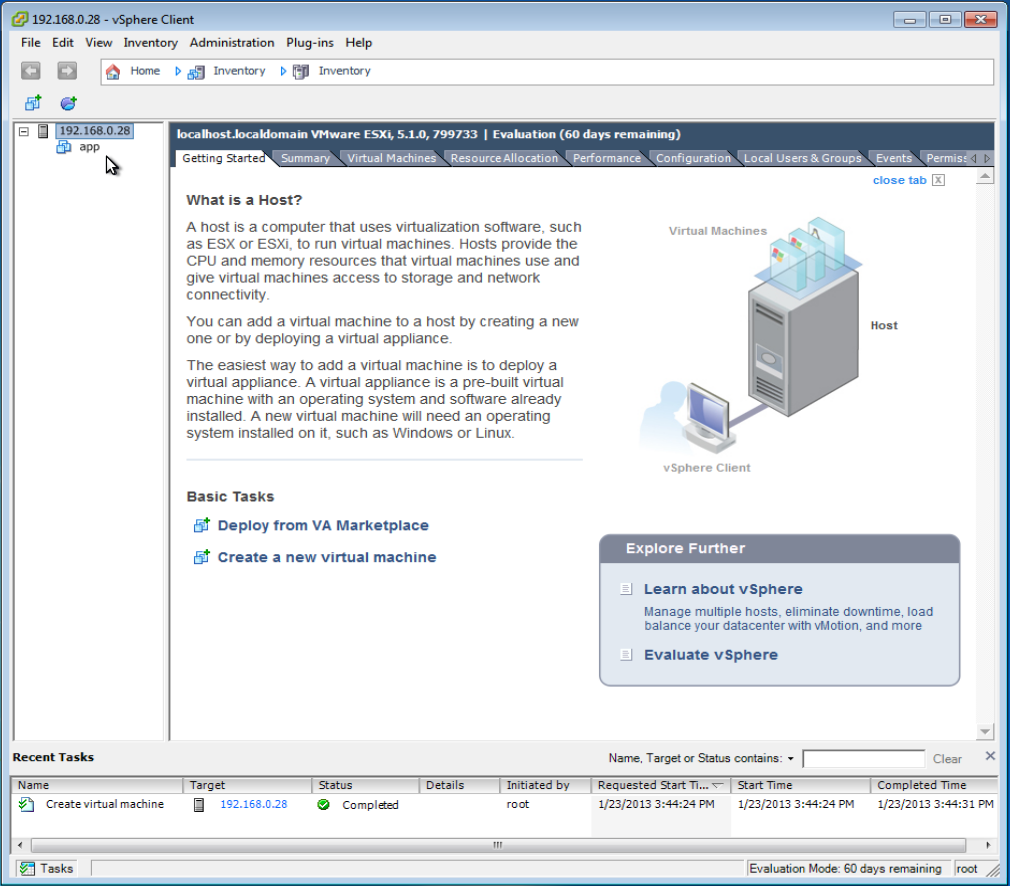
Et voilà : we're done! You can see that app has been
created. | |
|
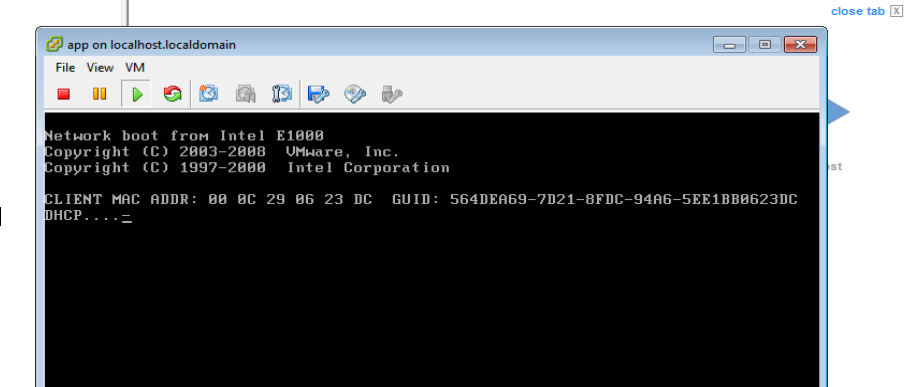
Here's a blurry image showing that the second disk is indeed known. |
Yes, despite the BIOS' opinion, VMware doesn't seem to notice the
second drive. |
This was nastier than I dreamed it would be. There seem to be 36 different ways to achieve it, but none work. What I really want to do is install from an ISO I have on a CD. The instructions are at Install a Guest Operating System from Media.
The problem comes from the CD or ISO not being findable by browsing as per instruction (c):
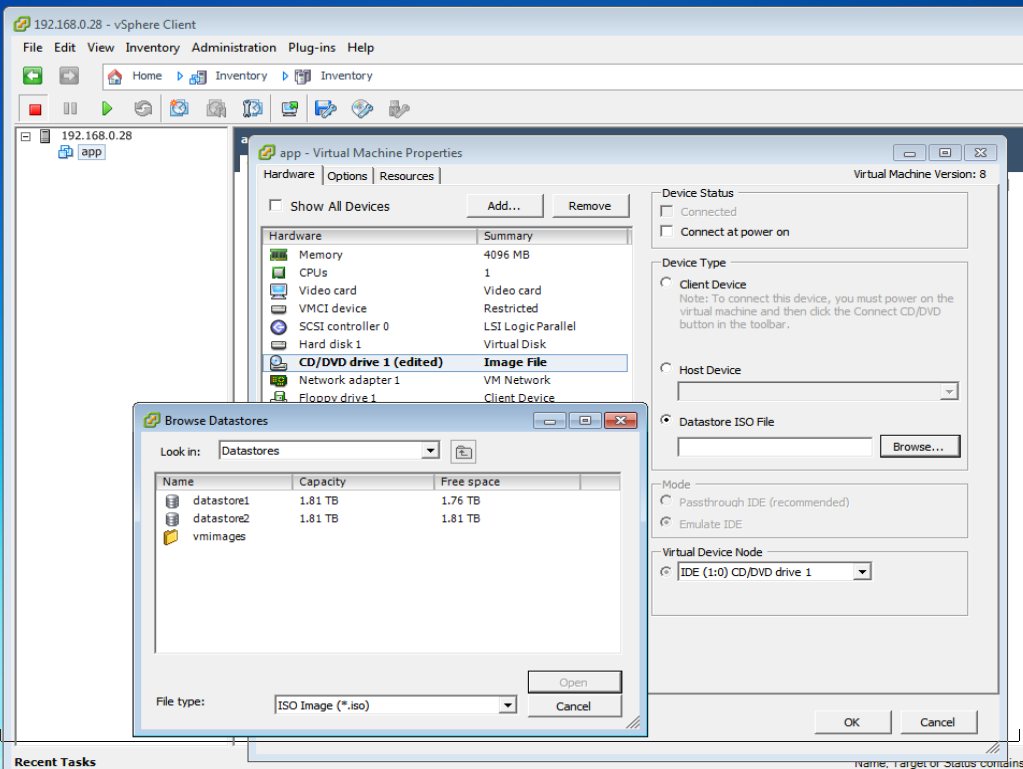
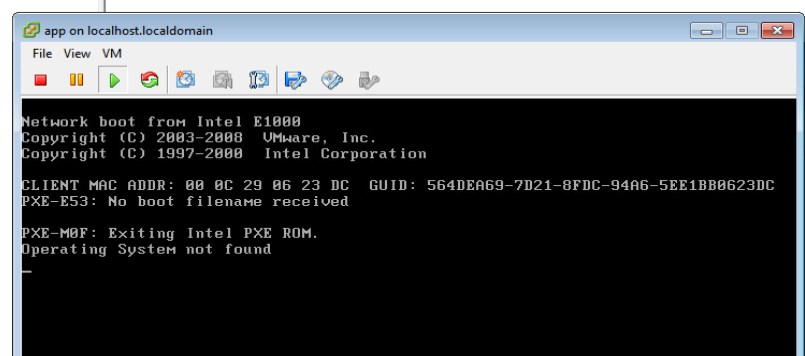
No matter what, this all results in:
To install a guest OS, you have a number of choices, but the simplest to understand are
Both require some configuration.
The instructions for using the CD drive don't work because the VM you want to install on will likely launch far too quickly for you to grab the CD icon button and configure it before it's too late.
![]()
Instead, do the following:
Did I mention this was way-faster than using an actual CD?
To do this (from anywhere that can reach the system, you'll need to enable ssl. This method of installation, once set up, installs a guest OS very much faster than from a CD.
You can now use scp to the host (using the username and password you sign into vSphere with) to copy an ISO somewhere on the datastore(s). You'll need to put it under the vmfs (virtual machine filesystem) subdirectory. The following session illustration, showing where I put a copy of the Ubuntu Precise 12.04 (LTS) Server, should be worth a thousand words:
    ~ $ scp ubuntu-12.04.1-server-amd64.iso [email protected]:/vmfs/volumnes/datastore1/iso
    ~ $ ssh [email protected]
    Password:
    The time and date of this login have been sent to the system logs.

    VMware offers supported, powerful system administration tools.  Please
    see www.vmware.com/go/sysadmintools for details.

    The ESXi Shell can be disabled by an administrative user. See the
    vSphere Security documentation for more information.
    ~ # alias ll="ls -al"
    ~ # ll
    drwxr-xr-x    1 root     root           512 Jan 28 20:19 .
    drwxr-xr-x    1 root     root           512 Jan 28 20:19 ..
    -rw-------    1 root     root            27 Jan 28 20:19 .ash_history
    -r--r--r--    1 root     root            20 Aug  2 03:48 .mtoolsrc
    lrwxrwxrwx    1 root     root            49 Jan 28 20:07 altbootbank -> /vmfs/volumes/f6275d73-02075779-f999-a9dc0c1e40e4
    drwxr-xr-x    1 root     root           512 Jan 28 20:07 bin
    lrwxrwxrwx    1 root     root            49 Jan 28 20:07 bootbank -> /vmfs/volumes/4589ab79-717a0040-94f3-a7598cbadc69
    -r--r--r--    1 root     root        300059 Aug  2 03:48 bootpart.gz
    drwxr-xr-x    1 root     root           512 Jan 28 20:19 dev
    drwxr-xr-x    1 root     root           512 Jan 28 20:07 etc
    drwxr-xr-x    1 root     root           512 Jan 28 20:07 lib
    drwxr-xr-x    1 root     root           512 Jan 28 20:07 lib64
    -r-x------    1 root     root         12165 Jan 27 00:20 local.tgz
    lrwxrwxrwx    1 root     root             6 Jan 28 20:07 locker -> /store
    drwxr-xr-x    1 root     root           512 Jan 28 20:07 mbr
    drwxr-xr-x    1 root     root           512 Jan 28 20:07 opt
    drwxr-xr-x    1 root     root        131072 Jan 28 20:19 proc
    lrwxrwxrwx    1 root     root            22 Jan 28 20:07 productLocker -> /locker/packages/5.1.0
    drwxr-xr-x    1 root     root           512 Jan 28 20:07 sbin
    lrwxrwxrwx    1 root     root            49 Jan 28 20:07 scratch -> /vmfs/volumes/495d2010-92c0959c-6de6-50465da5b57f
    lrwxrwxrwx    1 root     root            49 Jan 28 20:07 store -> /vmfs/volumes/495d2004-c589a5e3-9d5e-50465da5b57f
    drwxr-xr-x    1 root     root           512 Jan 28 20:07 tardisks
    drwxr-xr-x    1 root     root           512 Jan 28 20:07 tardisks.noauto
    drwxrwxrwt    1 root     root           512 Jan 28 20:11 tmp
    drwxr-xr-x    1 root     root           512 Jan 28 20:07 usr
    drwxr-xr-x    1 root     root           512 Jan 28 20:07 var
    drwxr-xr-x    1 root     root           512 Jan 28 20:07 vmfs
    drwxr-xr-x    1 root     root           512 Jan 28 20:07 vmimages
    lrwxrwxrwx    1 root     root            17 Aug  2 03:48 vmupgrade -> /locker/vmupgrade
    ~ # cd vmfs
    /vmfs # ll
    drwxr-xr-x    1 root     root           512 Jan 28 20:07 .
    drwxr-xr-x    1 root     root           512 Jan 28 20:19 ..
    lrwxrwxrwx    1 root     root             4 Aug  2 03:48 devices -> /dev
    drwxr-xr-x    1 root     root           512 Jan 28 20:20 volumes
    /vmfs # cd volumes
    /vmfs/volumes # ll
    drwxr-xr-x    1 root     root           512 Jan 28 20:20 .
    drwxr-xr-x    1 root     root           512 Jan 28 20:07 ..
    drwxr-xr-x    1 root     root             8 Jan  1  1970 4589ab79-717a0040-94f3-a7598cbadc69
    drwxr-xr-x    1 root     root             8 Jan  1  1970 495d2004-c589a5e3-9d5e-50465da5b57f
    drwxr-xr-t    1 root     root          1400 Jan 26 20:03 495d200e-9c33b4fe-d643-50465da5b57f
    drwxr-xr-x    1 root     root             8 Jan  1  1970 495d2010-92c0959c-6de6-50465da5b57f
    drwxr-xr-x    1 root     root             8 Jan  1  1970 5103ec79-12816e3a-ff55-50465da5b57f
    drwxr-xr-t    1 root     root          1120 Jan 26 14:47 5103ec84-c6334d33-5e15-50465da5b57f
    drwxr-xr-x    1 root     root             8 Jan  1  1970 5103ec85-93648008-c749-50465da5b57f
    drwxr-xr-x    1 root     root             8 Jan  1  1970 53ab4e73-cb47d519-54a7-7ecc0900577d
    lrwxr-xr-x    1 root     root            35 Jan 28 20:20 datastore1 -> 495d200e-9c33b4fe-d643-50465da5b57f
    lrwxr-xr-x    1 root     root            35 Jan 28 20:20 datastore2 -> 5103ec84-c6334d33-5e15-50465da5b57f
    drwxr-xr-x    1 root     root             8 Jan  1  1970 eed2be7f-28720c76-177c-fd2c99843409
    drwxr-xr-x    1 root     root             8 Jan  1  1970 f6275d73-02075779-f999-a9dc0c1e40e4
    /vmfs/volumes # cd datastore1
    /vmfs/volumes/495d200e-9c33b4fe-d643-50465da5b57f # ll
    drwxr-xr-t    1 root     root          1400 Jan 26 20:03 .
    drwxr-xr-x    1 root     root           512 Jan 28 20:20 ..
    -r--------    1 root     root       9830400 Jan  1  2009 .fbb.sf
    -r--------    1 root     root     267026432 Jan  1  2009 .fdc.sf
    -r--------    1 root     root       1179648 Jan  1  2009 .pb2.sf
    -r--------    1 root     root     268435456 Jan  1  2009 .pbc.sf
    -r--------    1 root     root     262733824 Jan  1  2009 .sbc.sf
    -r--------    1 root     root       4194304 Jan  1  2009 .vh.sf
    drwxr-xr-x    1 root     root          1820 Jan 27 00:14 app
    drwxr-xr-x    1 root     root           420 Jan 26 20:06 iso
    /vmfs/volumes/495d200e-9c33b4fe-d643-50465da5b57f # cd iso
    /vmfs/volumes/495d200e-9c33b4fe-d643-50465da5b57f/iso # ll
    drwxr-xr-x    1 root     root           420 Jan 26 20:06 .
    drwxr-xr-t    1 root     root          1400 Jan 26 20:03 ..
    -rw-r--r--    1 root     root     689221632 Jan 26 20:07 ubuntu-12.04.1-server-amd64.iso
Uh, you can't. It's that simple. Templates are a function of VMware vCenter and that costs beaucoup bucks.
In addition to Ubuntu Precise Pangolin 12.04 (LTS), I want to install a line of base software for the sort of VM I'm creating. In fact, I'm going to turn the VM into a template afterward. That way, everything I install will be there and functional for all VMs I create from that template.
Here's my list.
| Software | Explanation |
|---|---|
| Sun Java JDK | Just better than OpenJDK. |
| Chef client | Will be used by Chef for deployment. |
| Tomcat | Server container. |
| Software | Explanation |
|---|---|
| MongoDB | Database. |
| Chef client | Will be used by Chef for deployment. |