Notes on Nevado JMS interface
to Amazon Web Services
Simple Queueing Service (SQS)
Russell Bateman
July 2014
last update:
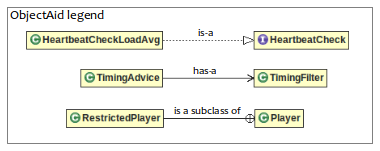
Here's a great tool, Nevado, for making the port of your JMS messaging layer to Amazon SQS (or even Comcast CMB) go easier. I'm corralling all the details here. I used ObjectAid to generate some light UML; here's the legend.
I need to look at this project to see if it's promising as a JMS abstraction of Amazon SQS for our use. What I've found so far is:
- It builds cleanly via Maven from the command line and in an Eclipse project.
- There are a hundred or so warnings, mostly failure to use Java 1.5 generics (even though written quite long after), a great number of unused imports, variables and side effects.
- The class hierarchies are, for the most part, very simple. I illustrate them below using ObjectAid™ from Eclipse. This is almost all the classes. The only ones not shown are utility classes with few or no interrelationships. See the ObjectAid legend above and to the right for how to interpret the arcs.
- There's an excellent quick-start guide, but it's Spring-y.
Here is a high-level diagram of Nevado's sessions, connections showing also Amazon SQS connectors.
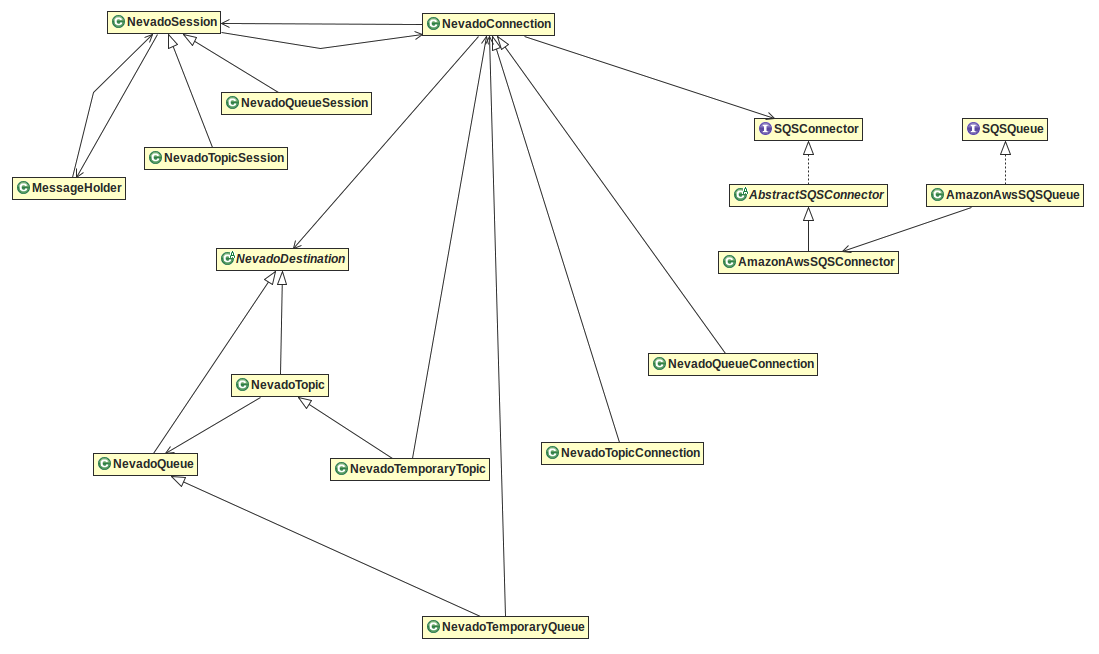
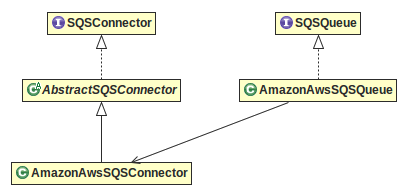
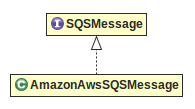
Nevado's Amazon SQS connectors, queues and messages.
 |
 |
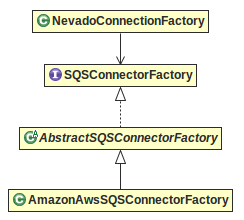
Nevado's Amazon SQS connector factories.
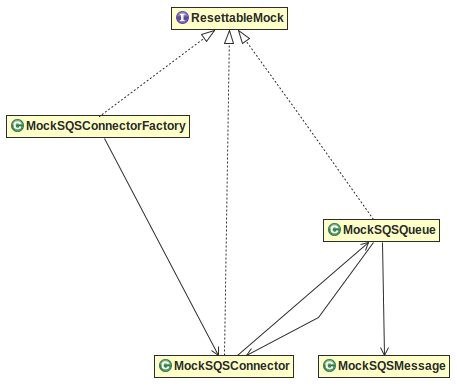
Last, for what it's worth, Nevado's mocking framework for testing purposes.
That old, simple JMS sample from Sun
Got the Sun JMS example running using Nevado atop AWS SQS. I created an Eclipse project. I needed a properties file to solve AWS configuration. These values here are dummies that look a little bit like what you'd see, but are of no actual value.
access.key.id = AKIAIK7CONYFPBM2WKXQ
access.secret.key = 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
queue.url = https://sqs.us-east-1.amazonaws.com/633002655422/acme-accounts
The JAR libraries I used I quickly found, mostly from Maven sites:
- principal libraries:
- nevado-jms-1.3.1.jar
- jms-api-1.1-rev-1.jar
- aws-java-sdk-1.7.13.jar
- required by AWS Java SDK:
- commons-logging-1.1.3.jar
- httpclient-4.3.4.jar
- httpcore-4.3.2.jar
- jackson-annotaions-2.1.2.jar
- jackson-core-2.1.1.jar
- jackson-databind-2.1.4.jar
- joda-time-2.3.jar
- resolve additional Nevado or JMS dependencies:
- json-20140107.jar
- commons-lang-2.0.jar
- hessian-4.0.33,jar
- commons-codec-1.7.jar
Here's the sample code. Highlighting are those lines which are necessarily Nevado while the rest of what's going on is pure JMS.
import java.net.URL;
import java.util.ResourceBundle;

import javax.jms.Connection;
import javax.jms.ConnectionFactory;
import javax.jms.Message;
import javax.jms.MessageConsumer;
import javax.jms.MessageProducer;
import javax.jms.Queue;
import javax.jms.Session;
import javax.jms.TextMessage;

import org.skyscreamer.nevado.jms.NevadoConnectionFactory;
import org.skyscreamer.nevado.jms.connector.amazonaws.AmazonAwsSQSConnectorFactory;
import org.skyscreamer.nevado.jms.destination.NevadoQueue;

public class HelloWorldMessage
{
   public static void main( String[] args ) throws Exception
   {
      ResourceBundle bundle = ResourceBundle.getBundle( "resources/aws" );

      String accessKey = bundle.getString( "access.key.id" );
      String secretKey = bundle.getString( "access.secret.key" );
      String queueUrl  = bundle.getString( "queue.url" );

      try
      {
         // Step 1: Create an Amazon AWS SQS connector factory for use in priming the pump.
         // this step is not part of the Sun example.
         AmazonAwsSQSConnectorFactory awsConnectorFactory = new AmazonAwsSQSConnectorFactory();

         // Step 2: Instantiate an Amazon or Nevado connection factory, injecting AWS credentials.
         // This step replaces this line in the Sun example:
         // connectionFactory = new com.sun.messaging.ConnectionFactory();
         ConnectionFactory connectionFactory = new NevadoConnectionFactory();
         ( ( NevadoConnectionFactory ) connectionFactory ).setSqsConnectorFactory( awsConnectorFactory );
         ( ( NevadoConnectionFactory ) connectionFactory ).setAwsAccessKey( accessKey );
         ( ( NevadoConnectionFactory ) connectionFactory ).setAwsSecretKey( secretKey );

         // Step 3: Create a connection to Amazon SQS.
         Connection connection = connectionFactory.createConnection();

         // Step 4: Create a session from the connection.
         Session session = connection.createSession( false, Session.AUTO_ACKNOWLEDGE );

         // Step 5: Instantiate a new JMS queue using a Nevado queue, injecting AWS queue URL.
         // This step replaces this line in the Sun example:
         // queue = new com.sun.messaging.Queue( "world" );
         Queue queue = new NevadoQueue( new URL( queueUrl ) );

         // Step 6: Create a message producer.
         MessageProducer producer = session.createProducer( queue );

         // Step 7: Create and send a test message to the queue.
         TextMessage sendingTextMessage = session.createTextMessage();
         sendingTextMessage.setText( "Hello World" );
         System.out.println( "Sending Message: " + sendingTextMessage.getText() );
         producer.send( sendingTextMessage );

         // Step 8: Create a message consumer.
         MessageConsumer consumer = session.createConsumer( queue );

         // Step 9: Start the connection (created in step 3).
         connection.start();

         // Step 10: Receive a message from the queue.
         Message message = consumer.receive();

         // Step 11: Retrieve the contents of the message.
         if( message instanceof TextMessage )
         {
            TextMessage receivingTextMessage = ( TextMessage ) message;
            System.out.println( "Read Message: " + receivingTextMessage.getText() );
         }

         /* --------------------------------------------------------------------------------
          * Output should appear something like this:
          *
          * Sending Message: Hello World
          * Jul 22, 2014 10:39:11 AM org.skyscreamer.nevado.jms.connector.amazonaws.AmazonAwsSQSConnector sendMessage
          * INFO: Sent message to SQS f174ad51-994e-485f-91d6-578d8943b48e
          * Jul 22, 2014 10:39:11 AM org.skyscreamer.nevado.jms.connector.amazonaws.AmazonAwsSQSConnector receiveMessage
          * INFO: Received message f174ad51-994e-485f-91d6-578d8943b48e
          * Read Message: Hello World
          * --------------------------------------------------------------------------------
          */

         // Step 12: Close the session and connection.
         session.close();
         connection.close();
      }
      catch( Exception e )
      {
         System.out.println( "Exception occurred : " + e.toString() );
         e.printStackTrace();
      }
   }
}
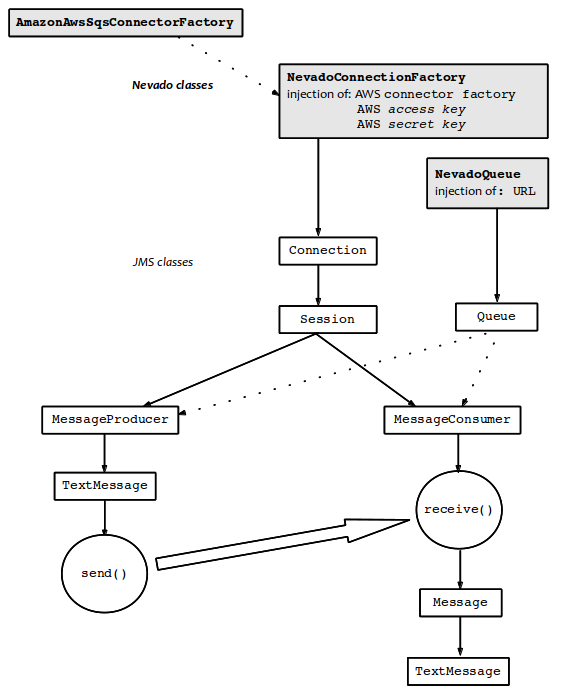
Tying up the JMS lifecycle...
From the sample code that now works, the essence of what we've learned about the JMS lifecycle is this:
- Amazon/Nevado preinjection
- Set up Amazon/Nevado connector to prime the pump.
- Set up Amazon/Nevado connection factory.
- Almost just JMS from here on...
- Create a JMS connection.
- Create a JMS session.
- Create a JMS queue.
This requires Nevado to inject the queue URL.
Maybe this can be pre-injected in earlier steps? - It is all JMS from here on...
- Producer
- Create a JMS producer.
- Make the producer create and send a text message.
- Launch the connection at this point.
Probably just has to happen sometime before attempting to receive the message. - Consumer
- Create a JMS consumer.
- Make the consumer receive the text message.
- Clean up by closing the session and connection.
Nevado in a nutshell...
In case I haven't flogged this horse enough, here's a diagram of the above sample. The special, Nevado classes are marked in grey, but everything else is pure JMS.